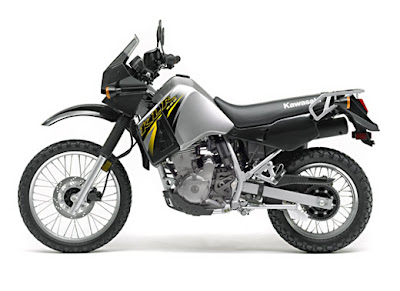
Short Description
This is a hobby website dedicated to the Kawasaki KLR650 motorcycle. I make no claim concerning the accuracy of the procedures, nor do I guarantee the success of any work done using them. All users of the material found here are advised that there is no real or implied warranty associated in any way with the website content, and that all content available here is for use at your own risk.
Website: www.klr650.marknet.us | Filesize: 119kb
No of Page(s): 5
Content
…
Front end off the ground. You absolutely must raise and block up the bike so the front wheel is off the ground if you want to remove and service both forks at once. (You can leave the wheel on, and do one side at a time, but I’ve never done it this way.)
* Remove the brake caliper & brake line mount from the left fork, and the speedometer cable mount from the right fork.
* Remove front wheel (See the note above)
* Loosen the fork caps by a few turns, but to avoid a possible mess leave them on until the tubes are off the bike.
* Loosen upper triple clamp fork pinch bolts. NOTE: You’ll probably have to insert a screw driver into the triple clamps to open them up a bit to help the tubes slide out. Mark or measure where your tubes are in the triple clamps so that when you reinstall them you put them back to the same height as they were before.
…
Get the file Download here
