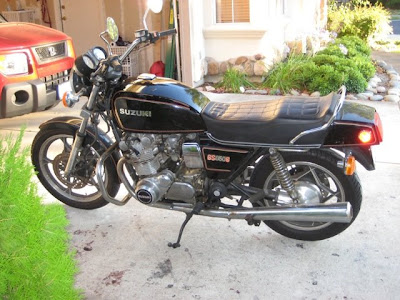
Short Description
Greetings to those of you who ride the classic GS series motorcycles from Suzuki. This documents my first experience replacing my stator. This procedure will be very similar for other GS series bikes, but be sure to refer to your bike’s service manual before proceeding. For a thorough background on the charging systems of the Suzuki GS series motorcycles, see “The Stator Papers” in the GSR Forum at http://www.thegsresources.com/garage/gs_statorfacts.htm . The GS Resources Forum is an excellent web community dedicated to keeping these classic bikes on the road. Visit or join at http://www.thegsresources.com .
Website: members.dslextreme.com | Filesize: 1142kb
No of Page(s): 16
Content
Let’s begin by disconnecting the positive terminal of the battery (or removing the battery altogether) and draining the oil. I happened to need an oil/filter change at the same time I was replacing my stator so the timing worked nicely. Some riders will just lean their bikes to the right, against something stable, so that when the left crankcase cover is removed no oil will drain out. Here is the left crankcase cover gasket. I’m holding it upside down, sorry. This is part number 477686-001.
…
Remove the left crankcase cover bolts (below). My bike still has the original phillips head bolts. They need a few taps from my impact driver to loosen them up. If I would’ve planned ahead they would be replaced with new hex head bolts. But alas, that will have to wait.
In the picture below, the cover is loose and hanging. At this point you may wish to just cut the stator wires but I chose to pull everything out intact.
If the magnetic force is strong enough, it may take a rubber mallet to encourage the case to come off. I also want to mention that the bolts are not all the same and must go back into their original holes. I started with the topmost bolt and removed them in a clockwise fashion, lined them up in order, so that I could put them back into their proper places during reassembly.
…
Get the file Download here
